Munia interface
A complete tour of the Munia interface to get started and set up your account from day one.
Updated on 6 mars 2026
The central area: entering your requests
As soon as you log in, you land on the main screen. Munia greets you with a salutation that changes depending on the time of day.
In the centre of the screen is the input field, where you write your requests. Several buttons go with it:
- Paperclip: upload a file in OCR format
- Web search: complete an answer with information from the internet
- Code interpreter: generate files (tables, documents, etc.)
- Large files: upload large files
- Artifact: advanced content generation feature
- Microphone: dictate your requests by voice

Setting up your account: an essential step
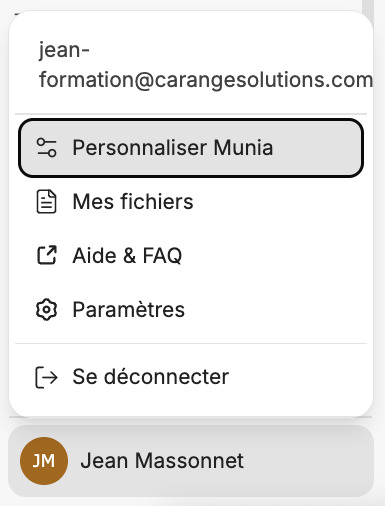
At the bottom left of the screen, click on your name, then on "Customize Munia". These settings apply to all your conversations and take priority over what you write in the input field.
Step 1 - Fill in your profile
You are invited to click on your name at the bottom left of the screen, then "Customize Munia".
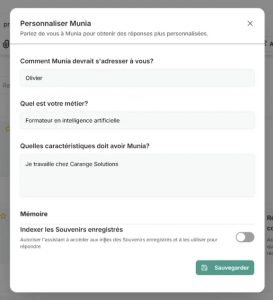
Fill in the following fields:
- Your first name (how Munia should address you)
- Your role within the organization, your position
- All the information needed to personalize your Munia account. Note that this information is sent to the AI with every one of your messages. We recommend saying "I work for the city of ...". That is already a good start, but you can add more information if you find it relevant.
This information saves you from having to introduce yourself in every new conversation.
Step 2 - Save
Click on "Save". A confirmation appears on screen to validate your changes. You can refresh your page if you do not see your changes
The left sidebar: your conversations
All your conversations with Munia are displayed in the left sidebar, in chronological order from the most recent to the oldest.
Organizing with folders
To create a folder, click on the "Folder" icon with the + sign. To add a conversation to it, drag and drop it or use the three small dots next to the conversation, then select "Add to folder".
Starting a new conversation
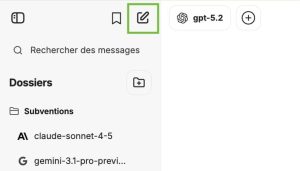
This is one of the most important buttons in the interface. Every time you change topic, click on "New conversation". The artificial intelligence remembers the entire context of a conversation: if you mix topics, the quality of the answers suffers.
The artificial intelligence directory
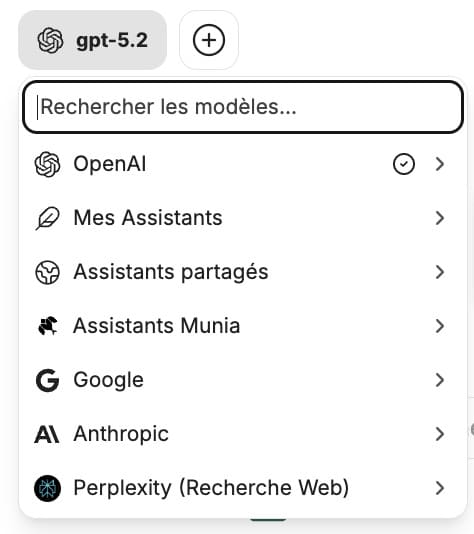
Just to the right of the "New conversation" button is the artificial intelligence directory. It gives access to the models of the major providers:
- OpenAI: ChatGPT
- Google: Gemini
- Anthropic: Claude
You will also find there the instances you have created, shared instances and Munia instances.
The right sidebar
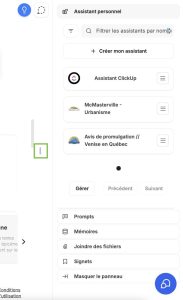
Collapsed by default, this bar opens by clicking on the small grey arrow on the right of the screen. It displays your personal instances as well as the files you have uploaded to Munia, so you can find and reuse them easily.
The assistants
At the bottom of the central screen, preconfigured assistants are directly accessible. These tools will be covered in detail in a dedicated resource.
You are now able to navigate the Munia interface, set up your profile, organize your conversations and access the various artificial intelligence models available.
To go further:
🎥 Next tutorial ➡️ 3 - Directory of models and assistants